With the release of Ruby on Rails 7 several things changed. Rails now ships with Hotwire turned on by default so we can use the Turbo framework and the stimulus framework. A lot of things you did with JavaScript before can now be done in a much easier and faster way without writing and JavaScript code. A straightforward example is a modal dialog.
In this tutorial we are going to create a basic rails 7 application that uses a modal form for creating and updating an item in the database. Most of the examples you can find use Tailwind CSS or other frameworks. We are going to use Bootstrap since this a widely used and popular framework.
For this tutorial I used the following versions:
- Ruby 3.1.0
- Rails 7.0.1
- Popper 2.9.3
- Bootstrap 5.1.3
- Stimulus Rails 1.0.2
- Turbo Rails 1.0.1
So if you code along at home make sure to use these versions. If you use any other version and run into problems, let me know!
Generating a skeleton Rails application
To start off we create a skeleton rails application by running
rails new modaldemo
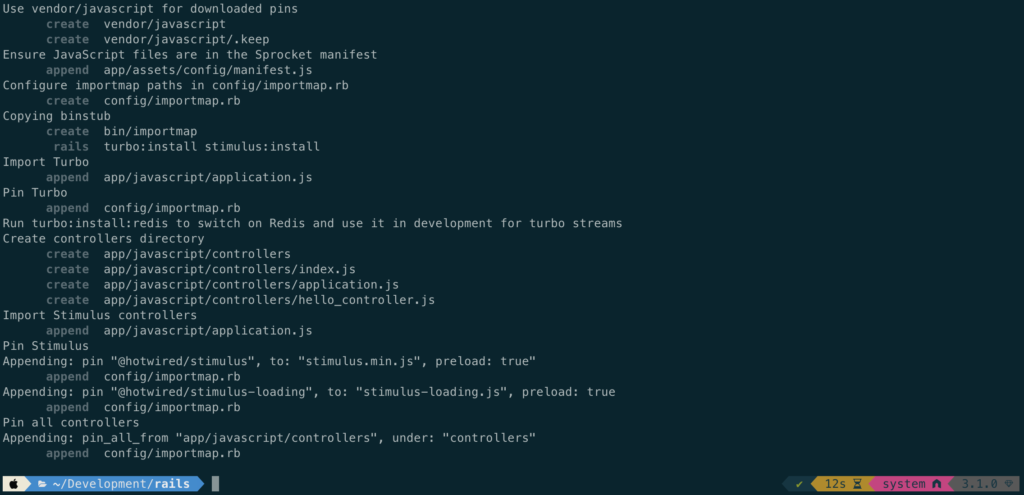
The output of your terminal should be looking similar to this:
To check if everything is working run
rails s
And visit localhost:3000 in your browser.
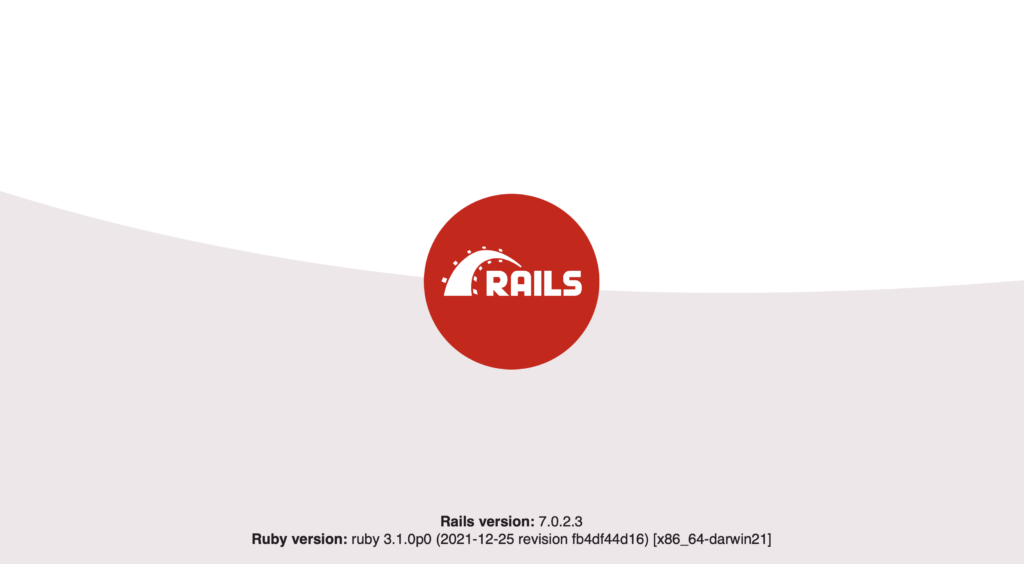
If you see this in your browser your are successfully running a rails 7 application.
Generate a scaffold
Now it’s time to create a little CRUD functionality to create, read, update and delete some data. To do that we generate a scaffold to get a model, a controller and some views:
rails g scaffold item name:string description:text
This will create us a model with the name item that a name attribute of type string and a description attribute of type text.
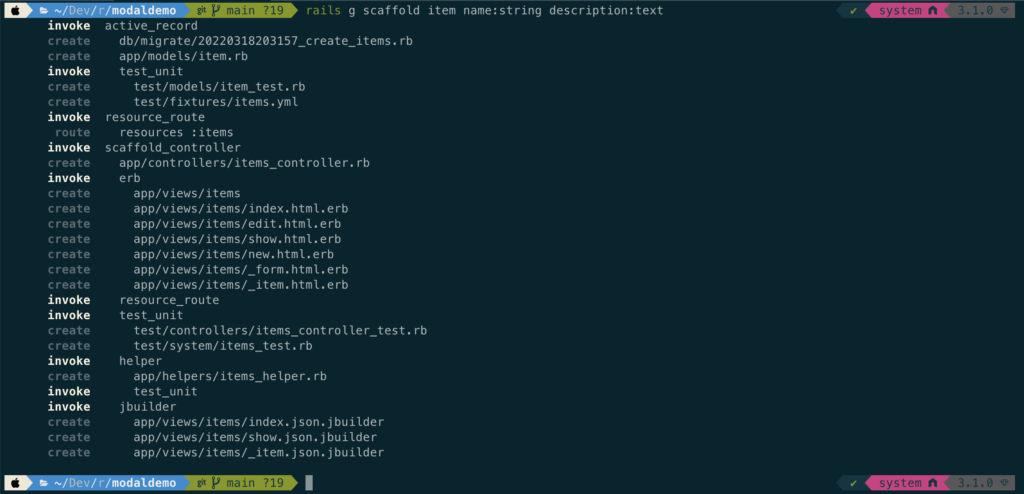
As you can see this creates several files for us. If you want to know more about how generators work in rails or if you want to create your own generators, you can check https://guides.rubyonrails.org/generators.html .
When you now run your application again and visit localhost:3000, you get the classic Pending Migration Error.
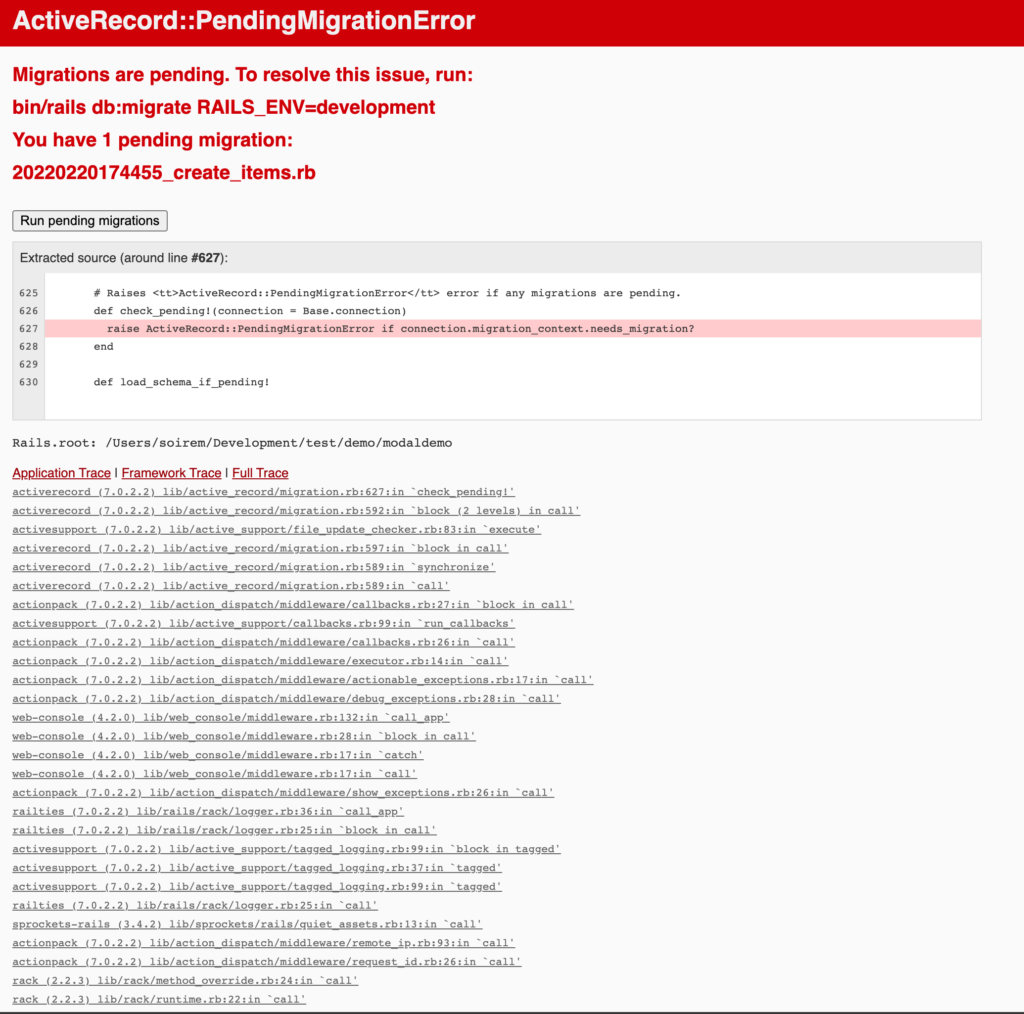
Whenever you generate new models or add or change attributes of existing models you need to migrate your database by running
rails db:migrate

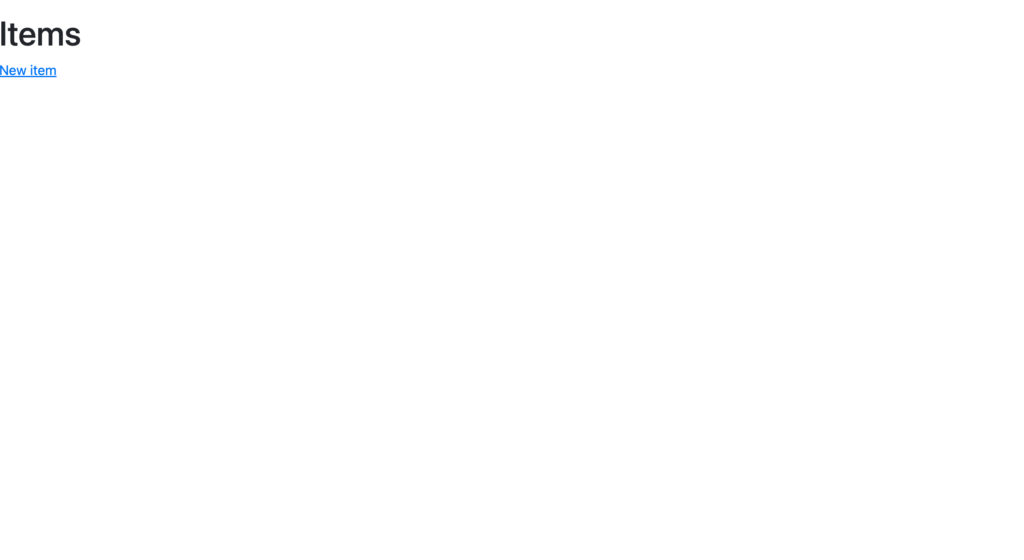
If you restart your app and go to localhost:3000/items you should see an empty list with a link to a form form for creating new items.
Now go to your project folder and open the file config/routes.db in a text editor of your choice. We now make the items index pages the root page of our application. Make sure the file looks like this:
					Rails.application.routes.draw do
  resources :items
  # Define your application routes per the DSL in https://guides.rubyonrails.org/routing.html

  # Defines the root path route ("/")
  root "items#index"
end
If you restart your app you should now be directed to localhost:3000/items whenever you visit localhost:3000.
Installing Bootstrap
With Rails 7 installing Bootstrap is a bit easier than it was before. At first you need to add the Bootstrap gem to your Gemfile by adding the line
gem 'bootstrap', '~> 5.1', '>= 5.1.3'
Then run
bundle
and after it ran you should see Bootstrap listed in the set of installed gems.
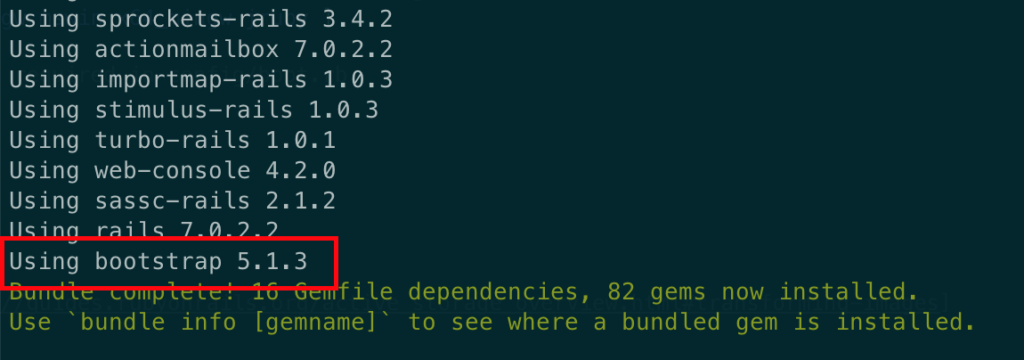
If this is the case, open the file app/assets/stylesheets/applications.css. First of all, rename the file to application.scss and then replace its content by
@import "bootstrap";
Now you can have a sneek peak and go back to your app in the browser (after you started the server again of course.). If you reload the page you see that it already looks a bit different.
It looks like Bootstrap is working. But wait! We are not done yet. The design and CSS stuff is working. Since we also want to make use of the animations and all the JavaScript stuff in Bootstrap, there are a few things left to do. To install the JavaScript parts, go back to your terminal and run
./bin/importmap pin bootstrap
This pins (installs) the JavaScript packages “bootstrap” and “@popperjs/core” to your project. To use them in our app, we need to import the into our application.js JavaScript file. So open the file app/assets/javascript/application.js (Attention: Not the file app/assets/javascript/controllers/application.js )and append the following two lines at the end:
					import "@popperjs/core"
import "bootstrap"
Now all the Bootstrap JavaScript stuff should be working. We will see that later when showing the modal dialog.
Just for fun, to see some changes, go open app/views/layouts/application.html.erb and replace the line
<%= yield %>
with
					<div class="container">
 <div class="row">
   <%= yield %>
 </div>
</div>
You will notice that some spacing was added. Congratulations! Bootstrap is working in your app.
If you click on the link that says “New item” on your items index page or if you just go to localhost:3000/items/new you a not so pretty form for creating a new item. Now it’s time to style your app a little bit. Before we do that, we try something. Just click the “Create Item” button and see what happens. You are redirected to page that says “Item was successfully created“. So yes, the app really just created an empty new item.
Now click “Destroy this item” and guess what happens. The item is deleted without asking. This is usually not what we want.
Modify the User Interface
Now we are going to make some to make it more like a real world example. At first, open app/models/item.rb and modify its content to match the following code:
					class Item < ApplicationRecord
  validates_presence_of :name, :description
end
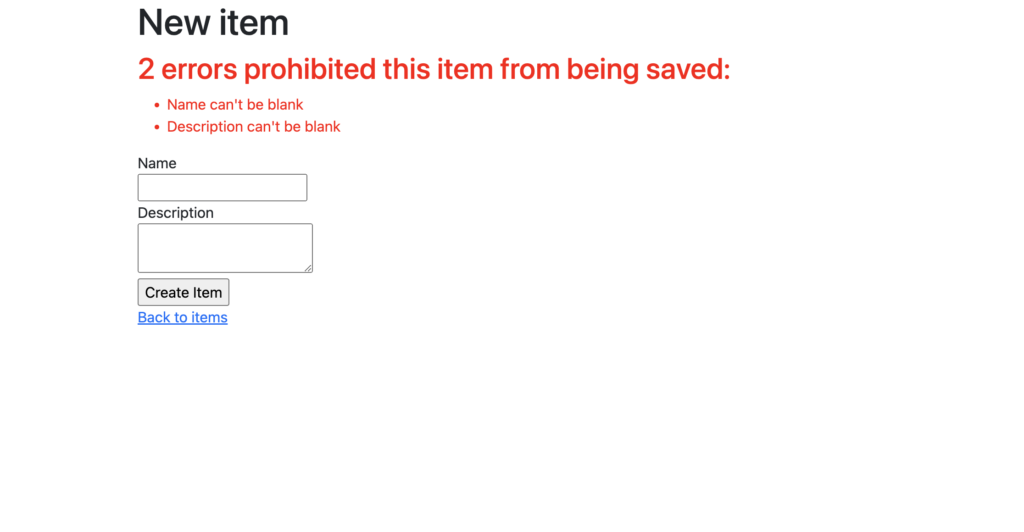
This adds a validator that checks for name and description not being empty. In other words, they are required fields now. If you want to know more about validations, this is the right place to go: Active Record Validations When you go back to the “Create item” form in the browser (if this form was still open you need to refresh the page first) and try to submit an empty form, you will get a nice error message (Don’t worry…we will work on that later):
Pretty Form
We want to make use of the Bootstrap UI to create a form that is a little bit more good looking. Go to app/views/items/_form.html.erb and replace the content of the file with
					<%= form_with(model: item) do |form| %>

  <div class="mb-3">
    <%= form.label :name, style: "display: block", class: "form-label" %>
    <%= form.text_field :name, class: "form-control" %>
    <div style="color: red">
      <% if item.errors.include?(:name) %>
          <% item.errors.full_messages_for(:name).each do |error_message| %>
            <%= error_message %>.
          <% end %>
      <% end %>
    </div>
  </div>

  <div class="mb-3">
    <%= form.label :description, style: "display: block", class: "form-label" %>
    <%= form.text_area :description, class: "form-control" %>
    <div style="color: red">
      <% if item.errors.include?(:description) %>
          <% item.errors.full_messages_for(:description).each do |error_message| %>
            <%= error_message %>.
          <% end %>
      <% end %>
    </div>
  </div>

  <div class="mb-3">
    <%= form.submit "Save", class: "btn btn-success btn-block" %>
  </div>
<% end %>
Now refresh the form in the browser and try to submit an empty form again. As you can see, the form looks better now and the error messages are displayed in place right next to the field with the error. Now it’s time to enter some data. Let’s create two arbitrary items and then go back to the index page. If everything worked out you should see something like this:
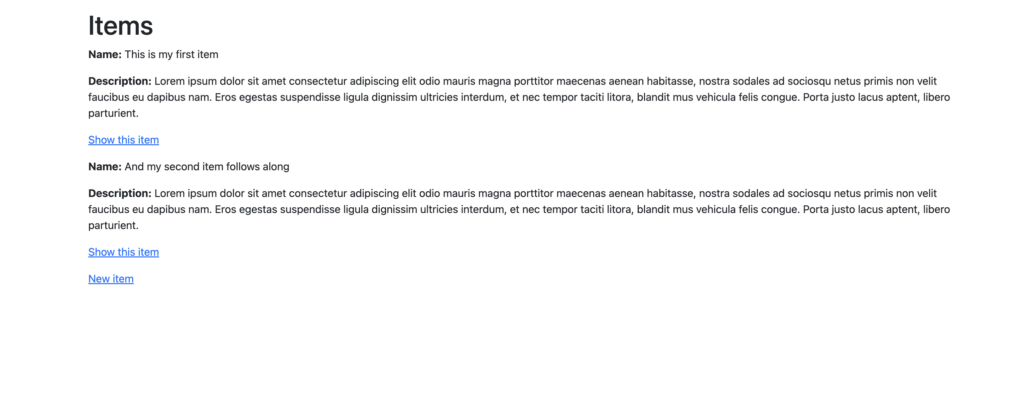
This could also look nicer. Go to app/views/items/index.html.rb and replace the content by
					<p style="color: green"><%= notice %></p>

<h1>Items</h1>

<div id="items">
  <table class="table">
    <thead>
      <tr>
        <th scope="col">Name</th>
        <th scope="col">Description</th>
        <th scope="col"></th>
      </tr>
    </thead>
    <tbody>
      <% @items.each do |item| %>
        <tr scope="row">
          <td style="width: 25%">
            <%= item.name %>
          </td>
          <td style="width: 50%">
            <%= item.description %>
          </td>
          <td style="width: 25%">
            <%= link_to "Show", item, class: "btn btn-secondary" %>
            <%= link_to "Delete", item, class: "btn btn-danger", method: :delete, data: { "turbo-method": :delete, turbo_confirm: "Are you sure?" } %>
            <%= link_to "Edit", edit_item_path(item), class: "btn btn-success" %>
          </td>
        </tr>
      <% end %>
    </tbody>
  </table>
</div>

<p>
    <%= link_to "New item", new_item_path, class: "btn btn-primary"%>
</p>
This indeed looks better.
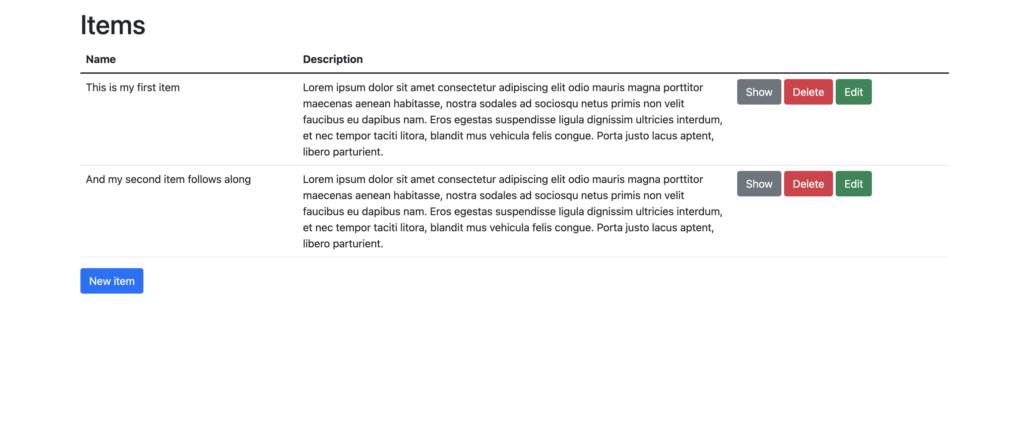
We did not do much to achieve this. We just used Bootstrap classes to style a table and we added styled links for the show, edit and delete actions. Feel free to play around with the interface. When you try to delete an item you will see that a confirmation dialog pops up. This is achieved by the line
<%= link_to "Delete", item, class: "btn btn-danger", method: :delete, data: { "turbo-method": :delete, turbo_confirm: "Are you sure?" } %>
Since we don’t need the show view for this tutorial, I will leave it out. You can try to style it with Bootstrap as an exercise. As one least tweak, we change the redirecting after creating or updating an item. Add the moment, the app redirects us to the show page with the current item. But we want to be redirected to the index page showing our list of items. Go to app/controllers/items_controller.rb and replace the following lines:
					# in the create action
format.html { redirect_to item_url(@item), notice: "Item was successfully created." }

# with

format.html { redirect_to items_url, notice: "Item was successfully created." }


# in the update action
format.html { redirect_to item_url(@item), notice: "Item was successfully updated." }

# with

format.html { redirect_to items_url, notice: "Item was successfully updated." }
Going Modal
Enough with the UI stuff. It’s time to make creating and editing an item modal. With Rails 7 this is quite easy.
At first, we need to tell the “New item” link on the index page that it should render into a turbo frame. Go to app/views/items/index.html.erb and replace the following lines:
					<%= link_to "New item", new_item_path, class: "btn btn-primary" %>

# with

<%= link_to "New item", new_item_path, class: "btn btn-primary", data: { turbo_frame: "remote_modal" }%>
“remote_modal” is the name of the turbo frame we are looking for. Since this turbo frame does not exist yet, nothing will happen if you refresh your index page and click “New item“. Now we create the turbo frame in our main application layout. Go to app/views/layouts/application.html.erb and add the line
<%= turbo_frame_tag "remote_modal", target: "_top" %>
so you have
					<div class="row">
    <%= yield %>
    <%= turbo_frame_tag "remote_modal", target: "_top" %>
</div>
The app now knows where to render but not so much what and how. We are going to change this in a second. Go to app/views/items/new.html.erb and replace its content with
					<%= render "remote_modal", title: "New item" do %>

  <%= render "form", item: @item %>

<% end %>
We are telling the view to render the remote modal partial for the “Create item” action with the passed in title “New item” and the original form we were using before. We got rid of the “Back to items” link for simplicity. We don’t need it.
I am sure you noticed the problem we get when trying to render the partial “remote_modal“? We did not create it, yet. Let’s do this now. Create the file app/views/items/_remote_modal.html.erb with the following content:
					<%= turbo_frame_tag "remote_modal" do %>

    <div class="modal fade" id="shareRecipeModal" tabindex="-1" aria-labelledby="newItemRemoteModalLabel" aria-hidden="true" data-controller="remote-modal" data-action="turbo:before-render@document->remote-modal#hideBeforeRender">
        <div class="modal-dialog modal-dialog-centered" role="document">
            <div class="modal-content" id="modal_content">
                <div class="modal-header">
                    <h4 class="modal-title" id="newItemRemoteModalLabel"><%= title %></h4>
                    <button type="button" class="btn-close" data-bs-dismiss="modal" aria-label="Close"></button>
                </div>

                <div class="modal-body remote_modal_body" id="remote_modal_body">
                    <%= yield %>
                </div>
            </div>
        </div>
    </div>

<% end %>
This code creates the turbo frame remote_modal . The HTML-code is basically the modal dialog standard example from Bootstrap ( https://getbootstrap.com/docs/5.1/components/modal/ ). What is important here to make it work are id, data-controller and data-action attributes of the first div-element. The data-controller and the data-action attributes are referring to a controller we will create in a second to handle opening and closing the modal window.
With
<%= yield %>
we pass in the form with the item from the previous step. Alternatively, you could also hardcode the form instead of that line. But the you would still need to pass in the correct item and you would end up with duplicated code as you would have to code the form again when you need it somewhere else.
Now create the file app/javascript/controllers/remote_modal_controller.js with the following content:
					import { Controller } from "@hotwired/stimulus"
import { Modal } from "bootstrap"

export default class extends Controller {
  connect() {
    this.modal = new Modal(this.element)
    this.modal.show()
  }

  hideBeforeRender(event) {
    if (this.isOpen()) {
      event.preventDefault()
      this.element.addEventListener('hidden.bs.modal', event.detail.resume)
      this.modal.hide()
    }
  }

  isOpen() {
    return this.element.classList.contains("show")
  }
}
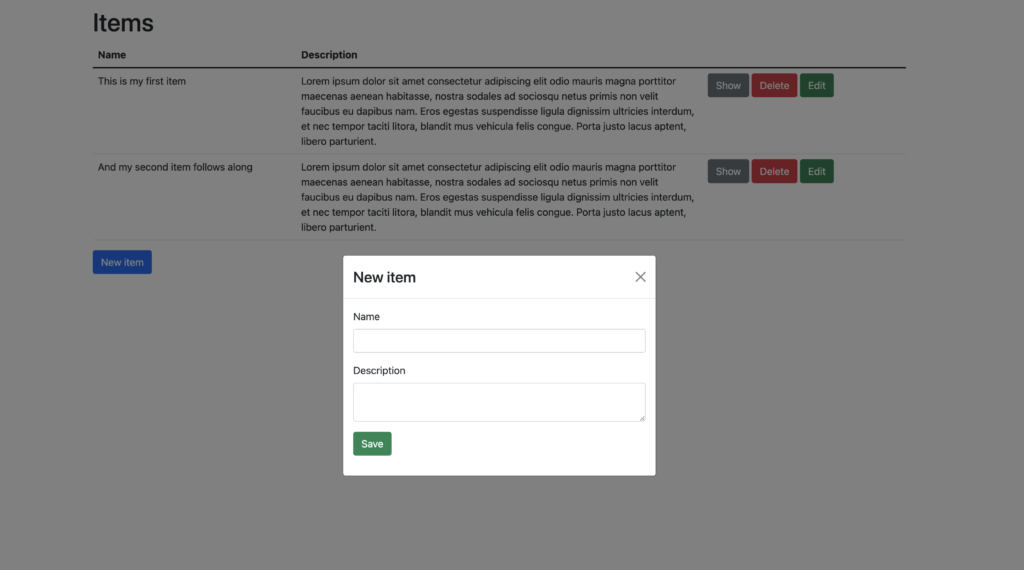
If you reload the page and try to create a new item, everything looks as intended:
But try to submit an empty form. Then the the page reloads and it looks like this:
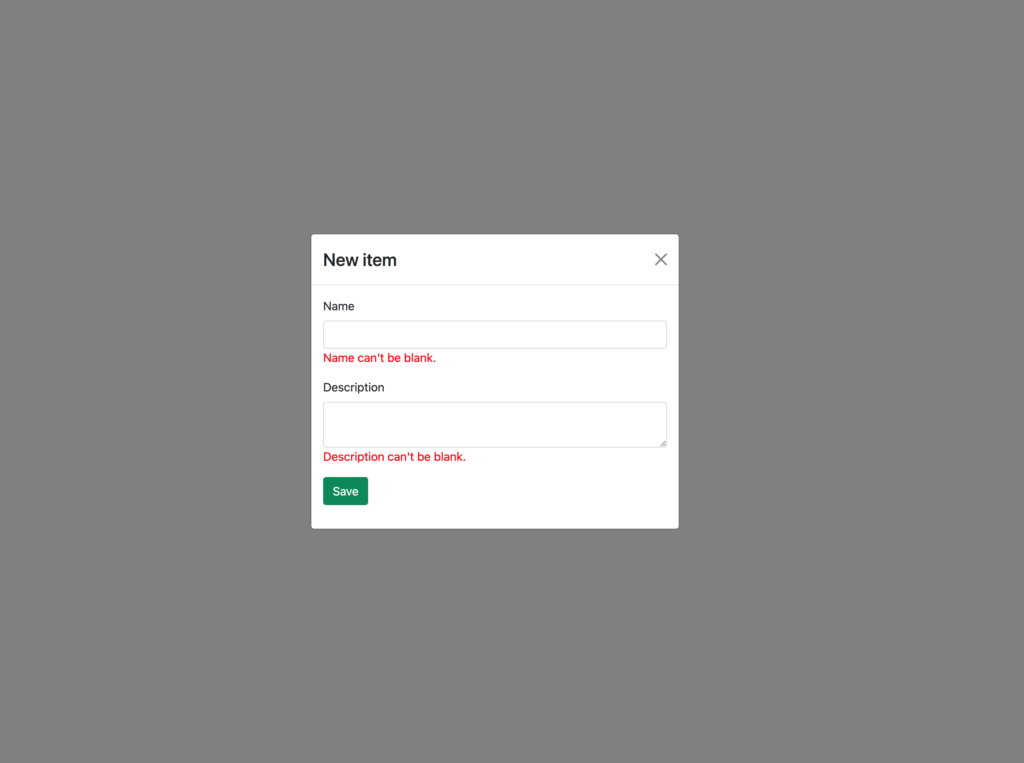
To correct this, we need to tell the controller what to do when a form with errors is submitted. Open app/controllers/items_controller.rb and add the line
format.turbo_stream { render :form_update, status: :unprocessable_entity }
to the else block of the create action. The create action should then look like this:
					 # POST /items or /items.json
  def create
    @item = Item.new(item_params)

    respond_to do |format|
      if @item.save
        format.html { redirect_to items_url, notice: "Item was successfully created." }
        format.json { render :show, status: :created, location: @item }
      else
        format.html { render :new, status: :unprocessable_entity }
        format.json { render json: @item.errors, status: :unprocessable_entity }
        format.turbo_stream { render :form_update, status: :unprocessable_entity }
      end
    end
  end
The next step is creating the template that is rendered in this case. Create the file app/views/items/form_update.turbo_stream.erb with the following content:
					<%= turbo_stream.update "remote_modal_body" do %>
  <%= render "form", item: @item %>
<% end %>
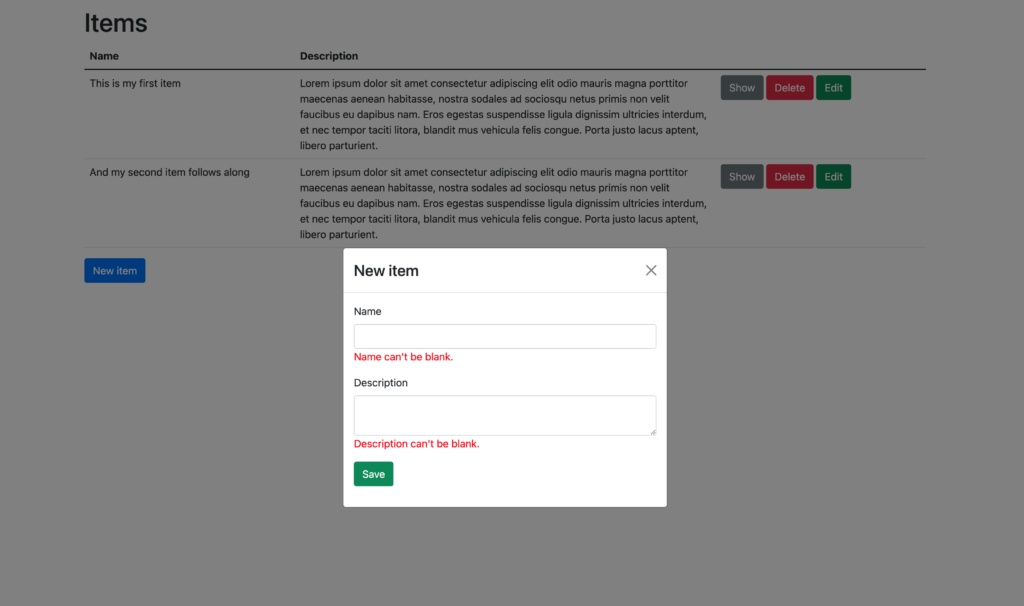
Now save, refresh the page and try again to submit an empty form. Everything looks normal:
Great! Creating new items is now fully working with a modal dialog. As a little exercise, try to add the same functionality to the edit action.
You should really try it on your own before you continue reading.
.
.
.
.
.
.
.
I am sure you managed to do it by yourself. You should have done the following things:
1. Add the line
format.turbo_stream { render :form_update, status: :unprocessable_entity }
to the else block of the update action in your items_controller.rb file
2. Change the content of app/views/items/edit.html.rb to match
					<%= render "remote_modal", title: "Edit item" do %>
  <%= render "form", item: @item %>
<% end %>
3. Edit app/views/index.html.erb and add the data attribute to the edit link like this:
<%= link_to "Edit", edit_item_path(item), class: "btn btn-success btn-block", data: { turbo_frame: "remote_modal" } %>
Now you are all set! You have created a fully functional CRUD application with modal dialogs for creating and updating items.

